Metal roofs may have a reputation for being permanent, but that doesn’t mean they don’t require some care.
Along with occasional inspections to spot any potential weaknesses or areas of wear and tear, you may have to repair screw holes in metal roofs at some point too.
The good news is that it’s relatively easy and won’t take too much time. You’ll need suitable materials and tools, a clear mind, and a steady hand.
So if you’re looking for an answer on how to repair screw holes in metal roofs quickly and without fuss, you’ve come to the right place!
In this article, we’ll break down the process step-by-step. We’ll tell you about the materials and tools you’ll need for a successful repair job and techniques that will help ensure your roof remains watertight and as good as new.
It might sound intimidating, but with our help, you’ll be a pro in no time! So grab your toolbox, and let’s fix those holes in your metal roof!
What Causes Screw Holes in Metal Roofs?
Poor installation is one of the most common causes of screw holes in metal roofs. If your roof installer used the wrong screws or drove the screws too tight, then it can cause punctures or holes in your roof.
It’s also possible for screw holes to form due to corrosion over time, especially if the screws were made from metal not meant for outdoor use.
Another factor that may cause screw holes in metal roofs is improper maintenance. If you don’t inspect and clean your roof regularly, debris can build up around the screws, creating pressure that causes punctures and holes.
Finally, wind can also be a culprit if your roof doesn’t have enough fasteners. High winds could cause loosened screws to push on each other, eventually creating unsightly screw holes.
How to Repair Screw Holes in Metal Roofs
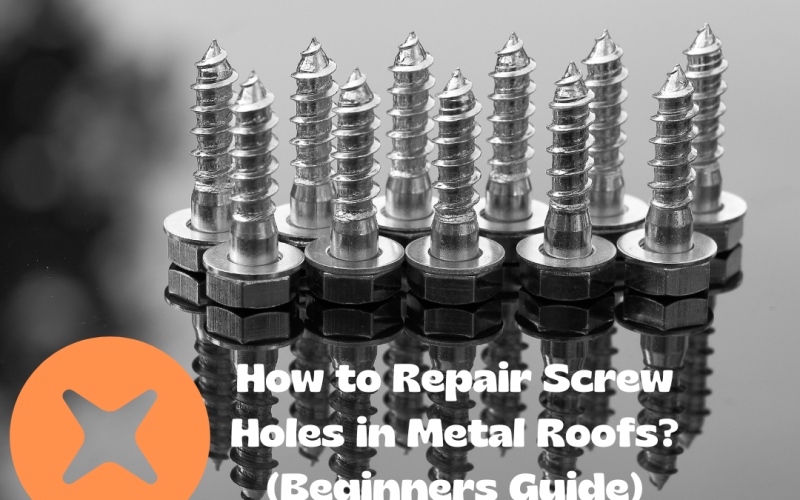
When repairing metal roofs, you’ll first need to locate replacement screws appropriate for your metal roof.
Due to the variability and strength of metal, screws for metal roofs are specially designed for the job.
You can find these screws at your local hardware store, which should list the type of material and size.
Once you’ve got your replacement screws, check the manufacturer’s instruction manual to ensure they are installed correctly, or contact a professional if unsure.
The manual should provide information on properly installing these screws, such as screw size and drilling depths.
Furthermore, before fixing any new screws, use a sealant on the areas around each hole so water doesn’t seep through when it rains. This will protect against rust or any further wear or damage.
Tools & Materials Needed for Repair
It’s time to talk about the tools and materials you’ll need to repair screw holes in metal roofs.
Now, it’s important to note that depending on the severity of the hole, you may have to approach things differently.
But, generally speaking, these are what you’ll need for a basic repair job:
Tools
- A power grinder or drill with a steel-cutting wheel
- A sheet metal cutter
- Metal snips
- Safety gear (gloves, safety glasses, dust mask)
- A caulking gun
- Putty knife or brush
- Rusty metal primer
- Flashing material (like aluminum flashing)
Materials
- Roof screws (self-drilling screws)
- Flashing sealant
Depending on the severity of the holes and cracks, you may also want to use an epoxy putty specifically designed for sealing up screw holes in metal roofs.
Whatever route you take, ensure you have all the tools and materials ready before starting the repair process. That way, you won’t be running around looking for them halfway through!
Step-by-Step Procedure to Repair Screw Holes
Repairing screw holes in metal roofs is not difficult, but it does require some basic know-how and a few simple tools. Here’s a step-by-step guide to help you repair the screw hole:
- Start by cleaning the hole. Clean off any dirt and dust from the hole to ensure no dust gets into the patch. Use a stiff brush and get all the dirt out of the hole’s edges.
- Apply a rust-inhibiting primer in and around the hole. This will provide added protection for your repair against corrosion. Let the primer dry completely before proceeding with the next step.
- Cut a piece of metal flashing to fit into the screw hole. Ensure it’s slightly larger than the opening to provide extra strength at its edges so it doesn’t tear or rip easily when tightened down later.
- Apply a layer of roofing tar or tape over both sides of the metal flashing, making sure to cover up any exposed edges, including around any rivets or screws on either side of it. This will help ensure that water won’t leak through your repair job later.
- Carefully insert and secure your piece of metal flashing into place using either screws or rivets, depending on what is appropriate for your particular roofing material and setup (it’s best to check with a professional if you’re unsure). Make sure to tighten them down securely so they don’t loosen up over time and cause further problems.
- Patch up any gaps or cracks between your metal flashing
Tips on Maintaining Metal Roofs
When it comes to maintaining your metal roof, there are some tips to remember that will help you keep it in perfect condition for years to come.
Clean Regularly
Regular cleaning of the metal roofing will help to prevent the build-up of dirt, moss, and other debris, which can cause damage over time.
A simple solution of water and detergent mixed together in a spray bottle should be used to wipe away any dirt and grime that has accumulated on the surface.
Check For Damage
Checking metal roofs for signs of corrosion or damage is essential if you want to prolong their life. Be sure to look for any rust spots, holes, or cracks in the metal panels.
If you find any, repair them immediately to stop it from spreading further.
Repair Holes
If your metal roof has screw holes that need repairing, there are a few steps you can take:
- Cut off any protruding heads using a circular saw or similar tool. Make sure you wear safety glasses when doing this!
- Clean around the hole using an air compressor, then sand it down with some 80-grit sandpaper. This will help remove any excess rust or dirt from around the hole.
- Apply a primer and sealer to the area before filling it with epoxy putty or similar material (such as J-B Weld). Smooth any excess with a putty knife and let it dry completely before putting on a top coat of paint if required. Your metal roof should now look as good as new!
Conclusion
Repairing screw holes in a metal roof is a relatively easy DIY project. Following the steps outlined in this guide, you can repair your metal roof and prevent future damage.
The key steps in the process are to identify the damaged area, clean it, fill it with sealant, and then prime and paint the area to match the rest of the roof.
Ultimately, repairing screw holes in metal roofs is not difficult, but taking caution and using the appropriate tools to complete the task successfully is essential.
With the right supplies and procedures, this simple project can help protect your roof and keep it looking its best for years.
